Showing posts with label glitter. Show all posts

Friday, 6 December 2013

Between Two Fir Trees

Nothing to Disclose

Hello lovelies! How are you doing today? It's -40˚ here (which is the same in Celsius AND Fahrenheit -- did you know that?) with the wind chill, so I'm hiding out inside by the fireplace and not moving if I can at all help it. ;)


Today's mani was a bit of a saga. It started chipping almost right away, which has nothing to do with the base polish -- Between Two Fir Trees, a stunning nude-pink base with speckled green and gold metallic and holo hex micro/mini glitter -- and everything to do with the layer of Glitter A-Peel I used. Something about that base and my nails are no longer getting along, it's like trying to stick two magnets of the same polarity together...


Anyway! Between Two Fir Trees went on amazingly well, especially given its pale base; two medium coats was all I needed for opacity. It isn't very rough, but you'll probably want two coats of top coat for better smoothness. I then used the name of the polish kind of literally and used acrylic paints for the fir trees, the snow, and the black cable between the trees. The little lightbulbs are done with nail polish.


I'm actually really digging this one. It wasn't super laborious to do, but it's nonetheless very cute. It helps that I had such awesome inspiration! I ordered four Cadillacquers altogether and this made me very excited to use the other ones...


Polishes used:
Nina Ultra Pro - Punki Pink, Orange Flame, Solar Flare, Lime Light
acrylic paints
detail brush
long striping brush

Are there any seasonal designs you'd like to see me take on? I have one ABC Challenge prompt for this weekend (P for Puzzle), and then next week is Digital Dozen week again (yay!), but I'm totally curious as to what kinds of things you'd like to see throughout December. I'm a bit of a Grinch if I'm being totally honest, and don't much celebrate Christmas, so sometimes these things are not obvious to me...

xo,

J.

Sunday, 17 November 2013

SIMPLE SUNDAY: Holiday Lights

Nothing to Disclose

I lied about avoiding holiday things. But I was seriously stumped, lovelies, I was!


You see, my prompt this week for my Follow the Devil ABC Challenge was N for Neon. NEON! There's a foot of snow on the ground outside (no, not exaggerating) (there may in fact be more than that) (it was -15˚C/+5˚F out today). How the bloody hell am I supposed to use neons at this time of year??


This was my answer. Holiday lights, loosely inspired by Sarah at Chalkboard Nails. (Hers are way nicer, naturally.)


I started this look with two coats of my trusty Camelot, followed by one thick coat of Masquerade for interest. I then dabbed on the white circles with White On (diluted in acetone) and a cotton bud, and dabbed Moon overtop of that for the glow effect (seen below). I painted the bulbs on using undiluted White On and my Nina Ultra Pro neons, used Seraphina for the wire, and topped it all off with top coat.


If I were to do this again, I would bother to dilute the neons with acetone and daub them onto the circles as well, for lighting congruity, but I didn't want to get overly complicated with a Simple Sunday design. I'd also recommend just using white acrylic paint and a tiny brush to do the wire, using nail polish made it way too thick.


Polishes used:
piCture pOlish - Masquerade (no longer available)
Sally Hansen - White On
Americal Apparel - Moon (glow in the dark)
Nina Ultra Pro - Punki Pink, Orange Flame, Solar Flare, Lime Light
Zoya - Seraphina
butter LONDON - Nail Foundation (base coat)
cotton bud
acetone for diluting nail polish
medium detail brush
tiny detail brush

I will try to make my next design less holidays-ish, more just plain wintry. Because, I assure you, I have plenty of inspiration in that department. Maybe I'll even do a mani for all your crazy Americans and your way-late Thanksgiving! ;)

xo,

J.

Thursday, 8 August 2013

Neon Lace... Typa Thing?

Nothing to Disclose

No idea what to call this one, lovelies.


I haven't done 'real' nail art in a while, it felt good to hammer something out in less than 2 hours! I consequently have something of a picspam for you today.


I started this look with two coats of French White, followed by 2 coats of Clowning Around and 1 coat of Freckles on the ring finger. On the rest of the fingers, I busted out the colours I used for my Watercolour Floral and started with a similar base, then opted for some kinda floral-ish lace-ish pattern overtop, done in black acrylics.


If you need a refresher on how to watercolour with nail polish, please click through to this post here.


Interestingly, I definitely prefer the look on the accent finger instead of the rest of the fingers. The crispness of the black lines against the white background is just too excellent -- I'll have to revisit this in future.


Polishes used:
Nina Ultra Pro - French White
Zoya - Charisma
China Glaze - Def Defying (this one stains, be careful!)
Lush Lacquer - Clowning Around, Freckles
Duri - Rejuvacote (base coat)
black acrylic paint
tiny detail brush

I'm hopefully going on a MAJOR hike this weekend (45km in 13 hours, because I'm a nutjob), so there may be radio silence until early next week. I'll be sure to make it up to you! And I may have a bit of a surprise in the next day or two anyway... ;)

xo,

J.

Tuesday, 2 July 2013

Garden Party

Nothing to Disclose

Lovelies, it's a whole twelve hours before my usual posting time! I might be getting a high from all the sunshine that's out right now.


The base for today's manicure is Garden Party, with a gradient of Hellebore on top. I then drew on the bunting (because what's more garden-party-ish than bunting?) with Jacqueline, Tallulah, and Tempest.


Sunshine photos make my cuticle oil look EXTRA OILY. Sorry about that!


Here I have taken a proof shot with a plant (technically they are many carrot plants), to prove that I was in the garden when I was taking these Garden Party photos.


What I feel I haven't conveyed about this polish in these photos is its complexity. I love the pale green and bright blue circle glitters, but there are also white hexes in three sizes, teeny lavender hexes (and squares?), and these small iridescent hexes that flash blueish and are totally awesome. (My love of all things iridescent is probably evident by now.)

Polishes used:
Tryst Lacquers - Garden Party (it may be batch variance but mine is much pinker than it looks here)
Zoya - Jacqueline, Tallulah
NYC - In a New York Minute (top coat)

I hope you have sunshine where you are, too, my lovelies! And that you get the enjoy it!

xo,

J.

Tuesday, 18 June 2013

Rhinestone Skittlette!

Nothing to Disclose

Tonight I have something blingy for you!


I recently read Marta's wonderful tutorial on skittlette manicures and thought, you know what, I want to give that a try! And then I promptly overdid it.


For this look, I started with a base of My Vampire is Buff, followed with dots in Tempest and a pinkie in Once In a Lullaby (four coats! It's not a very dense glitter, but it IS lovely). I found the rhinestones at Born Pretty and affixed them on a thick coat of Gelous, topped with top coat.


I realize that the pinkie is supposed to be the blingiest and the middle two fingers are supposed to be the intermediates, and I appear to have inverted that order, and it's a whole hunk of hot mess as a result, but I like it anyway. And you know why? RAINBOWS, THAT'S WHY.

Polishes used:
OPI - My Vampire is Buff
Gelous
Duri - Rejuvacote (base coat)

'Traditional' nail art is sort of boring to me, but I do like skittlettes because they offer a lot to look at and you can use a number of beautiful polishes without cluttering them up too much. I may start introducing this look into my repertoire a bit more, perhaps in lieu of my Swatch Saturdays (Skittlette Saturdays!) -- any thoughts on that?

xo,

J.

Sunday, 2 June 2013

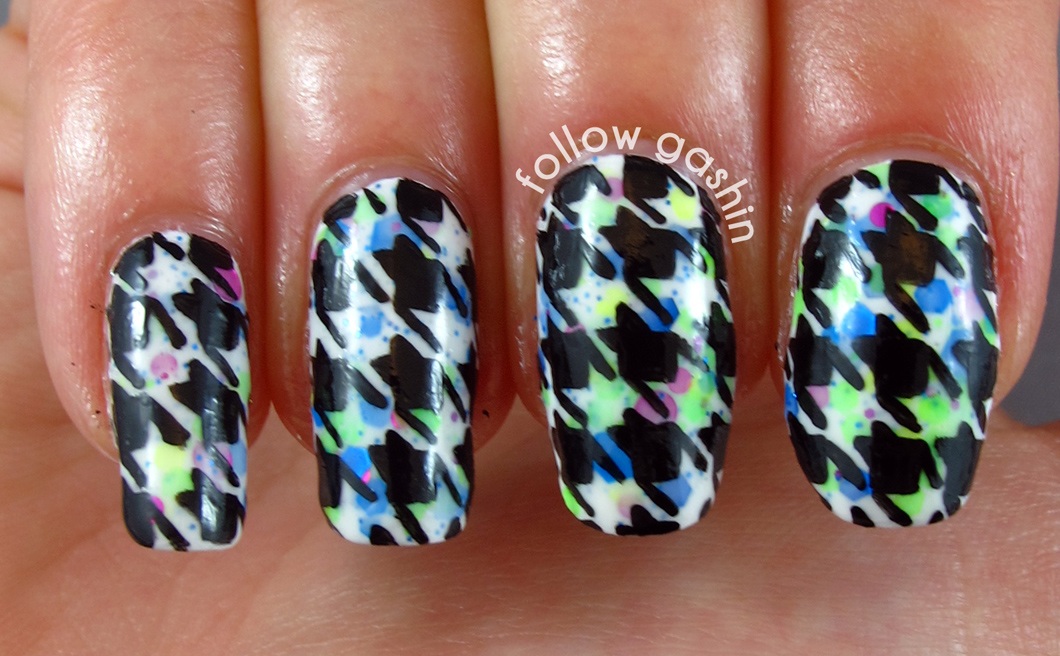
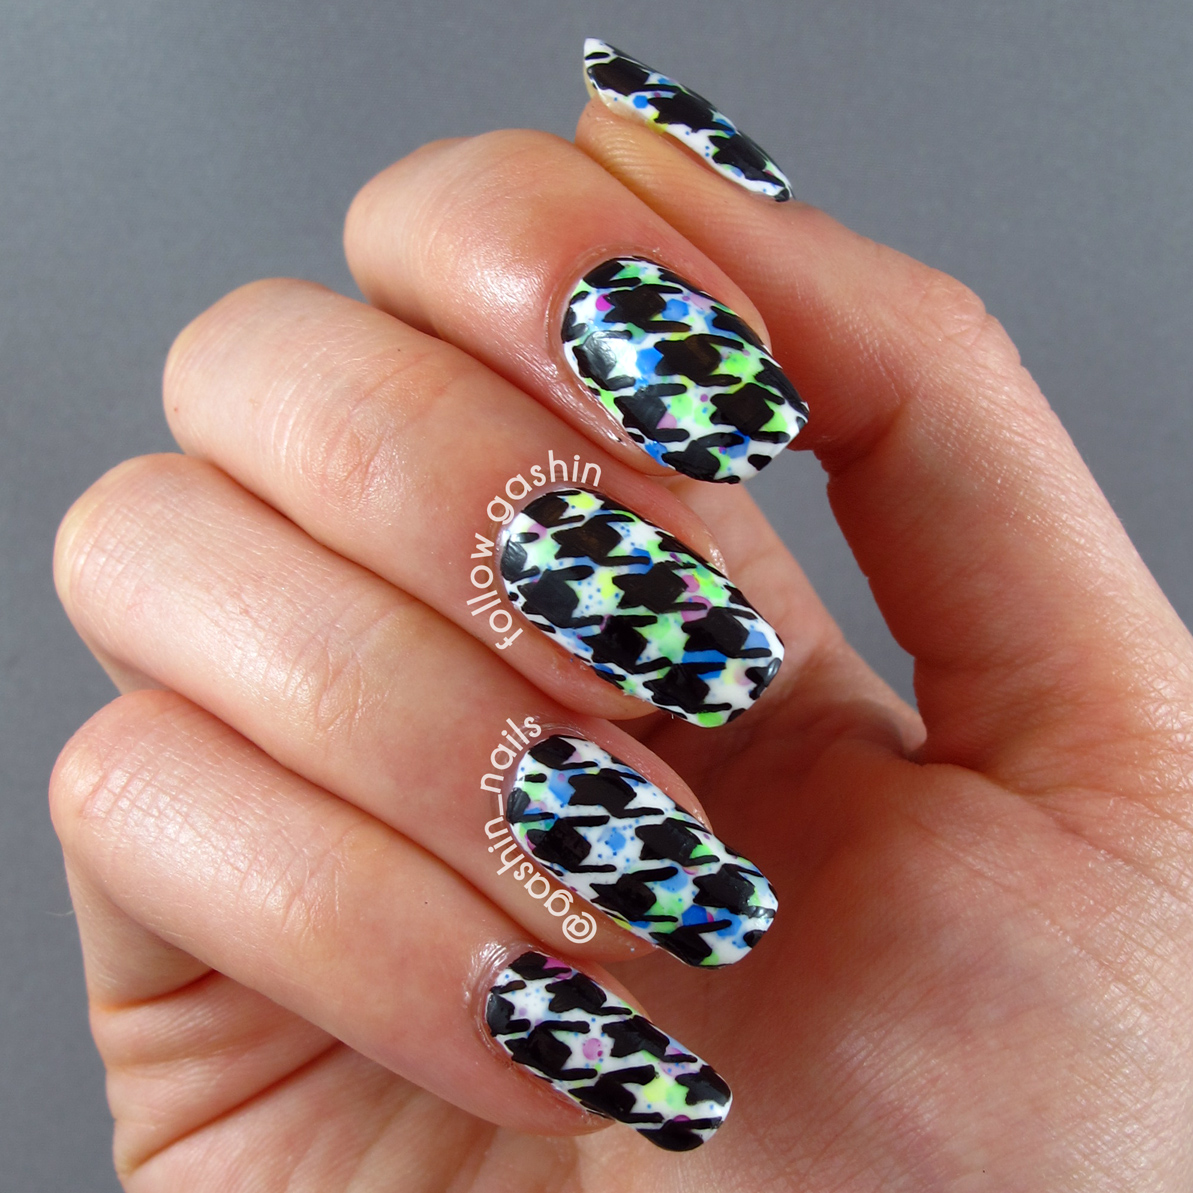
SIMPLE(R) SUNDAY: Houndstooth

Oh boy. It's 00:11 on Monday and I'm starting my Sunday post. Bad Jolène!!


Houndstooth is a weird pattern when you look at it, but it breaks down easily. There are a million tutorials for this one, but here's how I did it:


Step 1: draw your squares. You want them evenly spaced, so that it's a bit like a chess board where every second line of black squares was erased. That's a complicated way of saying what I hopefully have shown above.

Step 2: the first set of arms. Technically, the ends of the arms are supposed to be at an angle like fancy ribbon, but I challenge you to achieve that on the nail.

Step 3: the second set of arms. This should end up looking a bit like you're watching a bunch of block people doing the Macarena from above. (Good luck unseeing that.)

Step 4: the ears! So now the block people are looking up at you and they're actually CAT-BLOCK PEOPLE. I enjoy how my captions have managed to devolve into complete uselessness in only four steps.

That made sense, right????? Right. I'd make a pictorial for IG but it's clear by now that I do not function well without a staggering amount of words to throw around. Once you summon up the patience to do all your nails, you end up with something like this:


I did mine on a base of a glitter bomb for visual interest, but you could do it on anything. There are limitless colour combinations. I think it'd be really cool (but perhaps difficult) to do a houndstooth in a textured polish on a base of a similar shade of regular polish. Über classy!


Polishes used:
Cult Nails - Tempest (one coat underneath Rave)
black acrylic paint
detail brush

I think I will next do another post with a custom Tryst Lacquer, so keep your peepers peeled for that!


xo,

J.

Sunday, 19 May 2013

SIMPLE(R) SUNDAY: Glitter Lines

Hello lovelies,

I'm not sure what to make of this one. On the one hand, the basic principle isn't difficult (though mastering the method is). On the other hand, it takes forever. So, if you are an impatient person like I am, this look is very difficult.

Sorry I look jaundiced; I was trying to get the polishes colour-accurate.

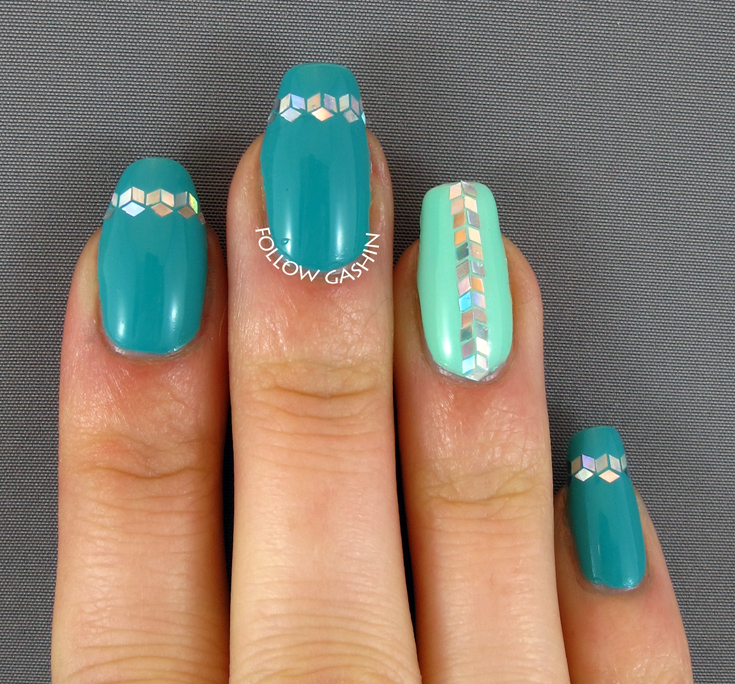
I started with a base of 1977, with Honey Dew on my accent finger. I then coated my thumbnail with a non-quick-dry Duri top coat I had kicking around, licked the tip of a toothpick, and began to place the little holo diamond glitters.


I repainted top coat as needed to make sure the glitter would stay put. I had a pair of cuticle nippers handy in case any pieces of glitter went awry, which of course they did, in order to gingerly pick them up off of wherever on my nail they decided to alight. Oh, and cursed. I cursed a lot.


For the queen bee of glitter placement, I invite you to check out Polish All the Nails. I think Laura might be a superhero. A glitter superhero. She also has very handy tutorials on how to do stuff like this. Hint: start in the middle!!

The sunshine didn't want to play with the holo; boo!

Polishes used:
la couleur couture - 1977
piCture pOlish - Honey Dew
Duri - Rejuvacote (base coat)
Duri - non yellowing top coat
Seche Vite (2 coats)
toothpick
loose holographic diamond glitter
patience
loss of patience
loss of mind

I'm thinking of doing one more manicure tomorrow for a competition on Instagram, then it's a solid 5 days of naked nails for me-- gotta let them breathe, and try to get my cuticles in line again.


J.

Tuesday, 14 May 2013

Pretty Serious Turns 1! And so does Daphne!

Today, 14 May 2013, marks something momentous: the first anniversary of Pretty Serious Cosmetics. Excellent work, Kaz and the gang! To many more fruitful years! Χρόνια πολλά!

It's also therefore little Daphne's first birthday. To mark the occasion, Pretty Serious released a special edition glitter topper called Daphne's Birthday Party. It's a very fun mix of small glitters in various colours. To me, it reads more Mardi Gras than Christmas, and that's a good thing!


For this look, I did a gradient over Calm & Clear (I painted Calm & Clear over the first coat of glitter for a jelly sandwich effect), then painted on Daphne's name with Hallelujah. I finished it off with a little blue holo heart (not that the holo shows in the lightbox).


Polishes used:
Pretty Serious Cosmetics - Daphne's Birthday Party
Spa Ritual - Calm & Clear
Contrary Polish - Hallelujah
Layla - Ocean Rush (holographic)
PVA glue for base coat
Seche Vite - top coat
detail brush

I promised you a contest entry for yesterday, and I did indeed get it done, but I haven't taken photos yet! It'll go up this afternoon for sure. :)


J.

Saturday, 11 May 2013

SWATCH SATURDAY: Inner Beauty is for Amateurs

Today I have the polish that has given my camera the hardest time of any I've photographed so far. I'm going to have to ask you to use your imaginations to patch the photos together to get something of an idea!


This lovely polish is Inner Beauty is for Amateurs by Nail Pattern Boldness. It's a lot brighter than above; I had to tweak the levels to get the micro glitter and iridescent glitter to show up. A gorgeous bright classic blue-toned red jelly, highly pigmented (I used two coats). Goes on like a dream-- very easy to control where the polish is going, and dries rather quickly, too!

The following two shots are my attempt at showing you the glitter. The outdoor one (left) is purposely blurred and gets the red's brightness down perfectly, but is a little too orange. The right one is just a bottle shot near the window because I found this showed the iridescent glitter the best. All of the glitter is very noticeable on the nail. It's a polish best appreciated in person. :)


I don't think that it'd be hard to remove, in spite of its glitter density, because of how small the particles are. But I wouldn't know, because I used NPB's new Glitter A-Peel base coat!!! I am so excited about this product, it's wonderful. I used a birch stick and it peeled well for me, even though I took this off only about an hour after application (onto nail art!). I find that PVA glue requires you to have your mani on for at least a half-day, preferably a full day, before it can be peeled without becoming a sticky, stuck, sticking bloody mess. So, major kudos to Nail Pattern Boldness for knocking this one out of the park.


Polishes used:
Nail Pattern Boldness - Glitter A-Peel, Inner Beauty is for Amateurs (the link provides excellent swatches, much better than mine!)
Seche Vite (top coat)
random iridescent stars I found... somewhere?


J.

Saturday, 4 May 2013

SWATCH SATURDAY: Comet Tail

Hello lovelies!

A very quick Swatch Saturday for you today. Having used Still Waters yesterday, I wanted to use its blue sister, Comet Tail.


What I could not capture in my photos is the pinkish flash that Comet Tail has, which makes it look lavender in most direct light. The lavender glow mixes with the red microglitter for an amazing look. Depending on your light source, the polish looks totally different: in this light, it looks blue; it direct light, it looks lavender; in the shade or indoors, it tends to look silver. A very pretty polish. It does dry a bit gritty, so you will need whatever glitter topcoat you typically use. You also want to let it fully dry between coats, as the formula has the same sort of marshmallow thickness as Still Waters.


On my accent finger, I used Full Spectrum. I cannot hope to convince you of what a sparklebomb it is based on these photos-- but it is a full-coverage glitter, a mix of coloured microglitter and super-microglitter in an astonishing pink-to-green duochrome. Zoom this photo to see everything in action:


Polishes used:
Liquid Sky Lacquers - Comet Tail
China Glaze - Full Spectrum (Scrangie's review, as she does a MUCH better job than me)
Duri - Rejuvacote (base coat)
Nail Pattern Boldness - Glitter Food
Sally Hansen - Insta-Dri


J.

Wednesday, 17 April 2013

Spun Sugar Gradient

I'm sorry this didn't go up yesterday! I finished these quite late at night and didn't have it in me to edit photos and write up a post. But I am doing so right now (hiyah).


For these, I started with a base of Still Waters-- it's a lovely colour deserving on its own post, and its incredible glowiness is a big part of why the jellies light up in the sunlight as above. It also applied like a dream in 2 coats; because the shimmer is almost (but not!) frosty in its intensity, you need to work your brushstrokes a bit to get them evened out, and Still Waters is probably the most indulgent polish I've worked with in months. It has an almost marshmallow squishiness to it and it stays smooth as butter for as long as you need it to. Superb.

I then dusted the tops of my nails in the turquoise glitter. Once done, I did the spun sugar technique with the three jellies, going from light green at the tips to dark green in the middle to dark teal up top. I left space for the glitter to shine through. I then topcoated it all to make it last until I could take photos today, but I won't do that next time. It takes away from the spun-sugariness.

Getting the colour balance proper on these was nigh impossible. Sorry for kinda leprotic hand colouring.


Purposefully blurry to show the glitter shininess.

Polishes used:
Liquid Sky Lacquers - Still Waters
Nfu Oh - JS34, JS35
Zoya - Frida
Duri - Rejuvacote (base coat)
INM - Out the Door (top coat)
Martha Stewart micro iridescent glitter in Wintermint

I think I'll do a painting next! I have some ideas, but it seems all my pre-planning goes off the rails lately...


J.
 
SITE DESIGN BY DESIGNER BLOGS