Showing posts with label Orly. Show all posts

Thursday, 12 December 2013

DIGIT-AL DOZEN WEEK: Red/Green/Gold: Christmas Skittlette

Nothing to Disclose

Hello lovelies! Day 2 of Nubbinses, and the final day of Digit-al Dozen Week, is upon us!


I decided to keep it simple today, with a red/green/gold Christmas skittlette.


Thumb and index are two coats of Chyna, pinkie is two coats of Filthy Rich. Middle and ring fingers are two coats of Shawn, followed by designs in Filthy Rich and some Just Nail nail art fluid that I didn't like enough to keep using (haha).


I regret now not incorporating red into my middle two fingers, but I guess that's kind of the point of skittlettes? And I wish I'd used Filthy Rich for the design from the beginning, I think I would have gotten better lines using it instead of the nail art fluid.


Polishes used:
Zoya - Chyna, Shawn
Quo by Orly - Filthy Rich
Just Nail nail art fluid in gold
butter LONDON - Nail Foundation (base coat)
OPI - Matte top coat (on middle two fingers)
Glisten & Glow - HK Girl (top coat; on pinkie only)
medium detail brush

GUESS WHAT! We found a house to rent! I won't be homeless come January! It's a really nice house, too, all updated and stuff. I'm really excited about it. It'll be me, my friend Andrew, a couple named Josh and Alyssa, their two young boys, and my cat. A rambunctious house. :) Thank you all for your kind thoughts and words over the past little bit. Now if we could all refocus our positive energy on finding me a job, I'd be all set... ;)

xo,

J.

CHECK OUT WHAT THE OTHER TALENTED LADIES OF THE DIGIT-AL DOZEN ARE UP TO:


DIGIT-AL DOZEN WEEK: Red/Green/Gold: Little Bells

Nothing to Disclose

Hello lovelies! Today is Day 1 of Utter Nubbily Nubbiness.


Augh!! Try not to avert your gaze. They don't bite, even if they're sort of gnarly looking. (And not the good gnarly, like Gnarly Gnails; the bad gnarly.)


I went outside the directive a bit with the base colour I chose for this; two coats of Colline du Charf. I thought I'd need three, and I probably would if my nails were longer, but for this two medium coats were perfect. I love this colour, it's so dainty and stuff. I'm not 100% sold on it as the base to this manicure, though. The bells don't stand out against it as much as I thought they would.


The bells were painted with Shirin and Filthy Rich (the little lines). The string and bell details were done with Camelot. The leaves were done with Shawn and Tracie, and the berries are Nightmaren.


Polishes used:
Quo by Orly - Filthy Rich
Zoya - Shawn, Tracie
Duri - Rejuvacote (base coat)
tiny detail brush
liner brush (which didn't save my lines, unfortunately; what a sorry state of affairs...)

How do you like these? What base colour would you have used?

xo,

J.

CHECK OUT WHAT THE OTHER TALENTED LADIES OF THE DIGIT-AL DOZEN ARE UP TO:


Monday, 9 December 2013

DIGIT-AL DOZEN WEEK: Red/Green/Gold Abstract Christmas Tree

Nothing to Disclose

Hello lovelies! It's that time of the month again! (Not THAT time of the month... but that time of the month.)


Digit-al Dozen Week! Yaaaaay!! This week our theme is red/green/gold, which is very seasonally appropriate. I've started with these abstract tree typa things.


I am a terrible blogger. I did these a good month ago and forgot entirely to write down which polishes I used. Augh! The worst! So the "Polishes Used" section today is going to be comprised of my best guess at things. I hope you can find it in your heart to forgive me.


I do remember how I did these, though! I started by painting my nails dark green. I then took a lighter green and started dry-brushing in all directions on top of the dark green before the base was fully dry (that's what gave it that texture). I then did dots in the red, and outlined them in the gold.


Polishes used:
Zoya - Shawn
American Apparel - Crescent Heights
Layla - Softouch 08 (Fire It Up)
Quo by Orly - Filthy Rich
Duri - Rejuvacote (base coat)
no top coat, to preserve the texture
dotting tool
liner brush

I think this is my favourite mani of the entire week. I have so much Real Life stuff going on, and have had for what feels like an eternity now, that my nail art has been suffering. To date, I haven't even broken out the acrylic paints! Unheard of!! Please to be sending me your most fervent "please don't be homeless and jobless" vibes, thanks in advance...

xo,

J.

CHECK OUT WHAT THE OTHER TALENTED LADIES OF THE DIGIT-AL DOZEN ARE UP TO:


Thursday, 4 July 2013

Neon Brushstrokes

Nothing to Disclose

Hello lovelies! I'm on the fence about this one; maybe you can help me figure out if I like it or not.


I got this idea from Missy's somewhat similar brushstroke-ness-thing. I like hers way way WAY better.


For this look, I began with a gradient of Sacred Ground, Ridnitsohkka, and Tempest. I then did brushstrokes on top with Punki Pink, Solar Flake, Orange Flame, Lime Light, and Charisma. I topped it off with little studs from Born Pretty.


Polishes used:
Spa Ritual - Sacred Ground (this polish is amazing, if you do not own it you are crazypants)
Elevation Polish - Ridnitsohkka (being reformulated; restock due 7 August 2013)
Finger Paints - Punki Pink, Solar Flare, Orange Flame, Lime Light
Zoya - Charisma
Orly - Bonder (base coat)
black 1.5mm studs from Born Pretty

So, yea or nay? I honestly am not sure. I think I liked this in principle way more than in practice. At any rate. Until next time, my lovelies!

xo,

J.

Wednesday, 26 June 2013

Chalkboard Nails

Nothing to Disclose

... Not as in the extremely talented nail blogger. As in nails that are meant to look chalkboard-ish.


Doing chalkboard nails was the idea of one of my lovelies over on Instagram. I regrettably haven't run very far with it, but it's a fun look for when you're feeling lazy!


This look began with two coats of Camelot (best black ever), followed by some sponging of Marble for the dust effect, then Filthy Rich for the chalk holder along the bottom. Text is done with Tempest, and the whole is coated in two thick coats of Matte About You.


On the subject of which -- you notice the dots that are distinctly whiter and sharper than the sponging? Those are weird calcifications in Matte About You. Has this happened to anybody else? I have no idea what they're doing but I strongly disapprove. In this case, they sort of blend in, but I've had them nearly ruin a manicure before. Time to consult Missy's informative Iron Polish post on matte topcoats and get myself a butter LONDON matte topper, I think!


Can anybody guess what the equation is? Any maths nerds out there? Show yourselves, ain't no reason to hide! I'll write it below in white text, highlight it and read if you're hopeless at maths like me:

The theory of general relativity as formulated by our good friend Einstein. :)

Polishes used:
Spa Ritual - Marble
Quo by Orly - Filthy Rich
Essie - Matte About You (top coat)

I have some seriously awesome posts coming up in the next few days -- a W-themed mani, and another crack at paisley print, so I hope you'll look forward to those!

xo,

J.

Friday, 21 June 2013

Aqueous

Nothing to Disclose

Good evening, lovelies! Another Tryst Lacquers custom polish for you today: Aqueous.


To show this beauty off, I decided on another skittlette. (I'm planning on something more oomph-ish for tomorrow, thus inverting the posting order I have established. Yay?)


All fingers started with a base of 4 coats of Aqueous. This sounds like a lot, but it went on very smooth and thin-- it's a true jelly, to let all the shimmer types through. If many layers annoy you, putting it on top of something like OPI's Ski Teal We Drop would be an excellent alternative. It leans a bit more green than the photos are showing, making it a perfect deep teal. My middle and ring fingers have a simple water marble done with White On and Nail Envy, and my pinkie has two coats of Trash Glam (because it is Quo by Orly, it is as far as I can tell a dead-on dupe for Orly's Sparkling Garbage, but maybe a bit denser glitter-wise). I focussed the above photo on my index so that the blurred out pinkie could hint at the holo goodness of Trash Glam. It's a party in a bottle, that one.


The above helps to show you the complexity of the base polish, but I wasn't satisfied. Oh no. Kimberly took my vision for a water polish and knocked it straight out of the park, so I decided that the world needed MACROS. Here's Aqueous in lightbox compact fluorescent lighting (this one is pretty well colour accurate) and indirect natural lighting:


If you aren't ready to pounce, you may have a fever-- please consult a doctor. But in all seriousness, like with all of my custom Tryst creations, I've allowed Kimberly to sell this baby to anybody who wants it, so if you're drooling, fire her off a note!

Polishes used:
Tryst Lacquers - Aqueous (custom)
OPI - Nail Envy (clear, for water marbling)
Sally Hansen - White On
Quo by Orly - Trash Glam
Duri - Rejuvacote (base coat)

Until tomorrow, my lovelies!

xo,

J.

Sunday, 21 April 2013

Golden Poppies

Hello lovelies. :)

I've been cogitatin' about a tattoo design for a very dear friend of mine and she loves Mucha's poppies, understandably so, which put me in mind of poppies in general. The unbelievably talented Nail Artist (IG: @riddhisn) is having a Floral/Brand/Sport contest, so I thought I'd enter these, even though they didn't come out even remotely as wonderfully as they exist in my head. As usual.


For this, I began with a base of Tallulah (for opacity-- one coat wonder!) and Order of the Garter (for the shade of blue I wanted). I then did the poppies in acrylics, and outlined it all in Filthy Rich very painstakingly with a nail art fountain pen. I then gave it glitter food and a coat of matte top coat. To make the poppies stand out a bit more, I went over them with shiny topcoat. (This effect is more noticeable in person.)


Polishes used:
Zoya - Tallulah
A England - Order of the Garter
Quo by Orly - Filthy Rich
acrylic paints in a variety of colours
one-stroke brush, detail brush, nail art fountain pen
Nail Pattern Boldness - Glitter Food
Essie - Matte About You
Poshé topcoat (only on the poppies)

Here's hoping you guys like these more than I do! I'm allowed two entries to the contest, so you'll probably have another floral coming your way in the next couple of weeks.


J.

Monday, 1 April 2013

Inverted Chevrons for Easter!

Happy Easter Monday to all who celebrate! I am amused that it falls on April Fool's Day this year. There's only so much coincidence a person can take before they can't help but smile.

This is a very toned-down Easter nail art, inspired by the very talented Emily at Globe & Nail, who did this look with a deep navy and a blingy micro-holo band and it looks FANTASTIC, so go see! Emily also has the best nails, the crispest swatches, and the world's best blog name (if you are Canadian and get the joke).


For this, I pulled out what I feel is the quintessential Easter polish: Adeste Fidelis [sic]. Named for a hymn (English version is "O Come All Ye Faithful") that the polish's creator once saw Pavarotti sing in the Notre-Dame Cathedral in Montreal, she took the cathedral's interior as her inspiration in putting together the colour scheme. I think it's as classy as a glitter possibly can possibly be, and, though it is obviously intended as a Christmas polish, the medium pink and pale green glitters remind me of the Easter dresses I used to wear as a child.


Because I chose to paint the bottoms a different colour altogether, to maximise the effect of the matte topcoat, I only taped off the chevrons once, and then freehanded the band of gold. This was probably not the best of ideas, but it wasn't a TOTAL disaster.


A coat or two (as needed) of Glitter Food to smooth everything out, followed by quick-dry topcoat and Matte About You on the tips (freehanded as well), and they're done!


And, finally, a close-up to show you just how complex Adeste Fidelis is. A lot going on, but somehow it never becomes overwhelming!


Polishes used:
Smitten Polish - Adeste Fidelis
Rescue Beauty Lounge - Plié
Quo by Orly - Filthy Rich
Nail Pattern Boldness - Glitter Food
INM - Out the Door (top coat)
Essie - Matte About You (top coat)
one-stroke brush


I hope you're nomming on chocolate right now! I sure am. (Though this isn't new; I pretty much always am regardless of the occasion.)


J.

Monday, 25 March 2013

Sunbeams!

Hello! Today we have sun (though it is still cold), and to celebrate the sun after about a week of snowy dreariness, I did up a cloud mani in which the tips are actually clouds:


This manicure refused to photograph properly in the lightbox, so I don't have my usual picspam for you. (Whether this is a good or bad thing is up to you!) To do this, I began with a base of Grey-t to Be Here. Once dry, I used my striping tape to mark off the lines you see, and painted in the beams with a variety of jellies. Once all the tape was removed, I painted the sun (it's actually 4 separate colours, of which you can see all of 2 in the pictures, weep) and then cloud tips, followed lastly by the little birds.


I despise flash photos, makes my fingers look all shiny, but this way you can see the shimmer in the base colour peeking through the jellies. This was more noticeable in person and very pretty!


Lastly, a close-up of Grey-t to Be Here, so you can see the flake shimmer more clearly. It's predominantly pink, but technically duochrome, going golden at acute angles. Because the shimmer is small-particle, however, that shift is pretty well imperceptible on the nail.


Polishes used:
Essence - Grey-t to Be Here, Fortune Cookie
Nfu Oh - JS20
Zoya - Katherine
OPI - Houston We Have a Purple, Y'All Come Back Ya Hear?, Funny Bunny
American Apparel - Sunshine State
Revlon Top Speed - Electric
Quo by Orly - Lemon Drop
Sally Hansen Complete Salon Manicure - Lavender Cloud
Contrary Polish - Hallelujah (limited edition mini; sent out with the full set of Love Lyrics minis)
GOSH - Nero

Back to the polish with me!


J.

Wednesday, 20 March 2013

Distressed Patchwork Nail Art

Hey there!

I have a simple but extremely effective mani for you today. The 'patchwork' look has been around for a long time, but I was finally prompted to try it by Jeanette's gorgeous take on it over at The Swatchaholic. Hers is way, way, way, way³ more beautiful than mine. Her skill is as perfect as her nails are as perfect as her photography-- go check it out!

In the meantime, here are my efforts. :)

The colours show up best in the shade.

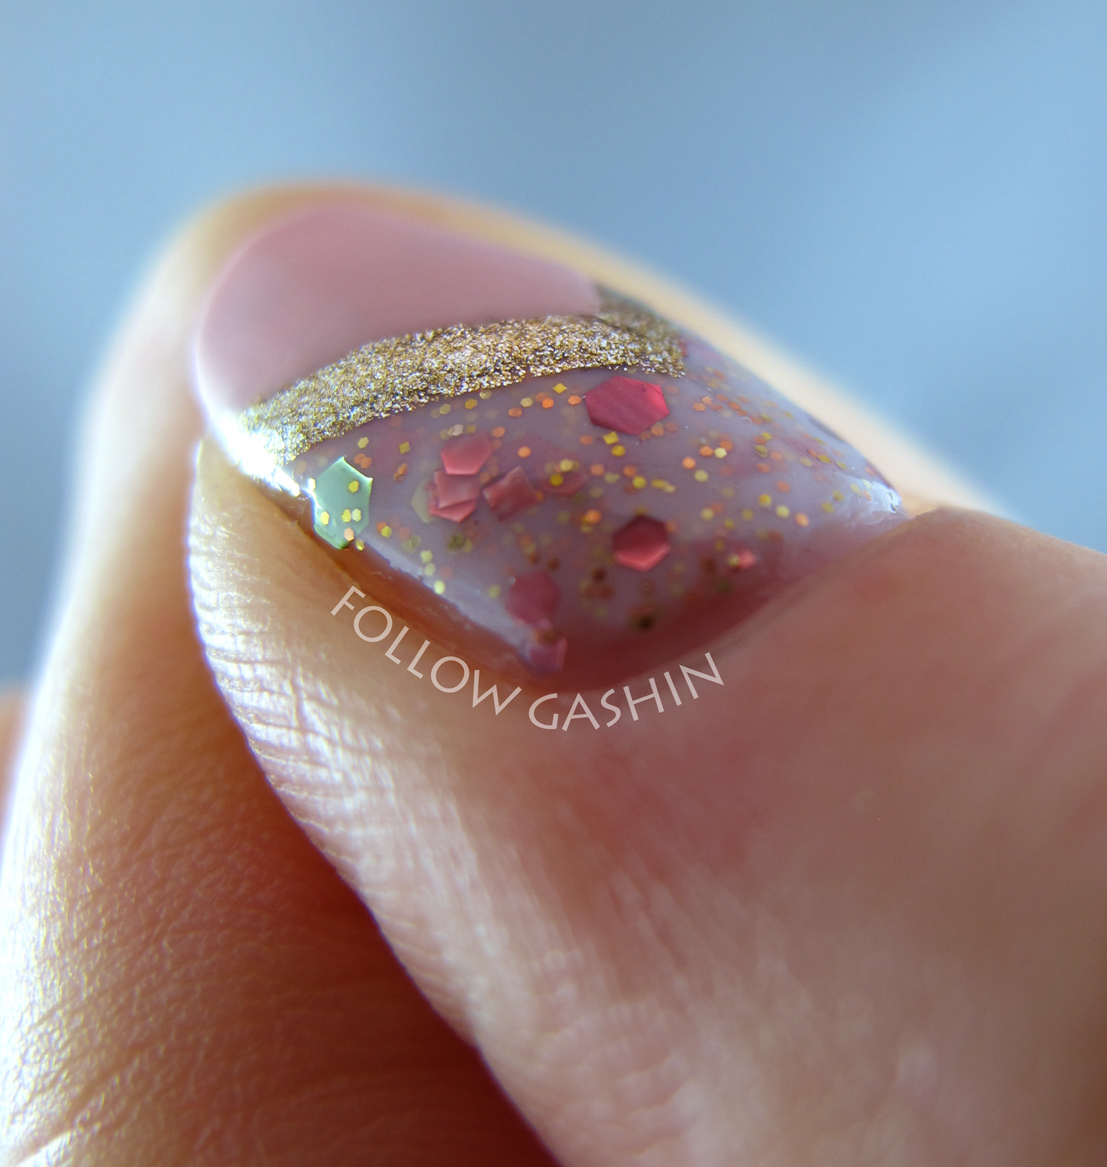
For this look, I started with a base of one coat of Filthy Rich, and then dabbed on the remaining colours in a way that seemed to make sense/balance everything out. I used all foil polishes with the exceptions of Filthy Rich (microglitter), Mermaid's Dream (microglitter in a frosty base), and Smolder (shimmer). I went over the dabs twice for texture and opacity.

SPARKLY


It involved a bit of clean-up at the end, but nothing serious. It's an extremely easy technique since it requires no tools other than the brushes that come with the nail polishes themselves!


Here are close-ups of Smolder and Mimi because I felt like the patchwork didn't really show their true awesomeness. Smolder has a deep beautiful shimmer that is actually duochrome (goes golden at sharp angles, could not capture it on camera). Mimi is a royal purple foil that has a hidden bright turquoise shimmer that caught me totally off-guard!

L-R: Smolder, Mimi.  Sorry about the crap clean-up, these were painted & tidied with my non-dominant hand. :)

Finally, I leave you with a purposely blurry shot to show you the shiny glory of the foil polishes. Even though you don't use very much for this technique (it works best when you take off almost all of the polish on the brush), it still packs a lot of colour punch!


Polishes used:
Quo by Orly - Filthy Rich
Zoya - Ivanka, Mimi
Spa Ritual - Conduit, Rusted Lux
Deborah Lippmann - Mermaid's Dream
Poshé (top coat)

Have you ever tried this look? If not, you really should. It looks super-lovely in jewel tones, brights, pastels... any given colour family. Just keep an eye out for light/dark and colour balance!

Until next time!


J.


follow gashin on bloglovin

Sunday, 17 March 2013

St. Patrick's Day Nail Art: Nyan Pot-O'-Gold!

I had ZERO inspiration for St. Paddy's Day nail art until I was lying half-awake in bed this morning. And of all things to find inspiring, an outdated meme is a weird one. I probably ate too much sunomono last night (noooo, not possible!).

May I present: Nyan Pot-O'-Gold.

I dunno guys, it seemed appropriate.

I started with a base of Passport Blue, which I coated with my 20-grade Spectraflair topcoat to give it some pizzazz (yeah, I used 'pizzazz', deal with it). I then used white acrylic paint to draw the 'shadow' of the rainbow and the pot of gold. The blacks/greys are also acrylic paint, as are the little star details. The gold is nail polish, as are all the colours of the rainbow.

I tried to make the rainbow segments shorter at the end to denote them 'fading away' (kind of), but it didn't work.


On my thumb, I kept it simple with two (amazingly easy, gorgeous) coats of Liquid Leprechaun (HOW PERFECT?!). It was smoothed out with one coat of Poshé pretty well-- I'm noticing just the tiniest bit of texture now, about an hour later, so it's probably a 2-coater, which is excellent considering how much glitter it packs.


And I leave you with this purposefully blurry double-shot to show you the sparkly goodness of the Spectraflair topcoat and Liquid Leprechaun:


Polishes used (rainbow colours are in italics):
American Apparel - Passport Blue
Indigo Bananas - Spectraflair topcoat (20-grade)
Quo by Orly - Filthy Rich
Nails Inc. - St. James
Essie - Action
Revlon Top Speed - Electric
American Apparel - Crescent Heights
GOSH - Blue Balloon
Zoya - Mira
Pretty Serious - Liquid Leprechaun
OPI - Nail Envy Matte (base coat)
Poshé (top coat)
Black & white acrylic paint

Set in Lacquer has a contest going for St. Patrick's Day nail art, so I'm thinking I will submit this there. I can't expect it'd win (good grief, it's a riff on Nyan Cat, let's be serious), but it can't hurt to try to branch out and meet new people!


J.

Friday, 8 March 2013

Guest Post by Kate!

Today I have a special guest: Kate! Kate and I painted her nails this evening. Here's what she has to say about it:

Sparkles and a heart!

"My favourite colour is pink. I like sparkles and I try to make them pop out on my nails, so I like it when it has a background to it. I also like little sequins, and making little scenes out of them, like connecting the dots. I like polka dots, that's why I like sparkles on my nails, because they're like little dots."

Both hands together!

And a close-up!

Kate and her adorable nubbins may well show up sometime in the future as well. We will see. ;)

Polishes used:
Piggy Paints - Pocketful of Posies
Happy Hands - Motherboy
Some unnamed Ardene polish (pink/blue shimmer on accent fingers)
Orly - Hottie (heart detail)
New York Color - Grand Central Station (top coat)

J.
 
SITE DESIGN BY DESIGNER BLOGS